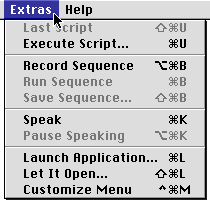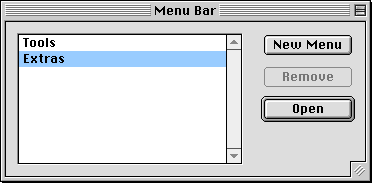
The Menu Bar window lists customizable menus in the QuoEdit. Choose “Extras” in the list and press the Open button. And a window that shows the contents of the Extras menu of the QuoEdit appears. This window is called a menu window.

Press the “New Item” button. And a dialog box to ask where to make the new menu item appears. (Note that a menu command is one of menu items.)
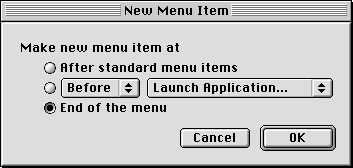
Choose “End of the menu” and press the OK button. And a bigger dialog box called “properties dialog box” appears.

Here, we want the new menu command to let the Finder open something. So, choose ‘Open by Finder’ from the Kind popup menu.
And input the name of the new menu command. Here, we name it “Customize Menu”.
Would you like to assign the keyboard shortcut? Then press the “Edit” button for Key Assignment. Now, a small dialog box named Key Assignment is at the front.

Let’s set it to Command+Control+M. Input “M” with the upper case and check the ‘Command Key’ and the ‘Control Key’. Then press the OK button to go back to the properties dialog box.
And the most important thing is to attach this customizer to the new menu command. Press the “Edit” button for the Attachment. And Attachment dialog box appears.
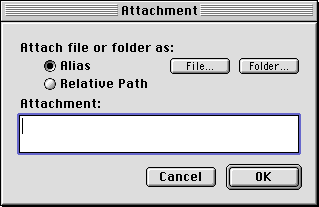
In this dialog box, we specify the file of the QuoEdit's Menu. Though you can input text called path in the text box, you don’t need to do it. Instead, press the “File” button, choose “QuoEdit's Menu” and press the Choose button. If you chose the proper file, press the OK button to go back to the properties dialog box.

Though there are still untouched options in the properties dialog box, the remainings are unnecessary for this new menu command. So, press the OK button to finish the properties dialog box. At this point, a new menu item (command) is added to the QuoEdit.
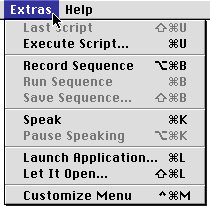
Once quit the customizer choosing the Quit command from the File menu and bring the QuoEdit to the front. Now you can see the new menu command “Customize Menu” in the Extras menu.
